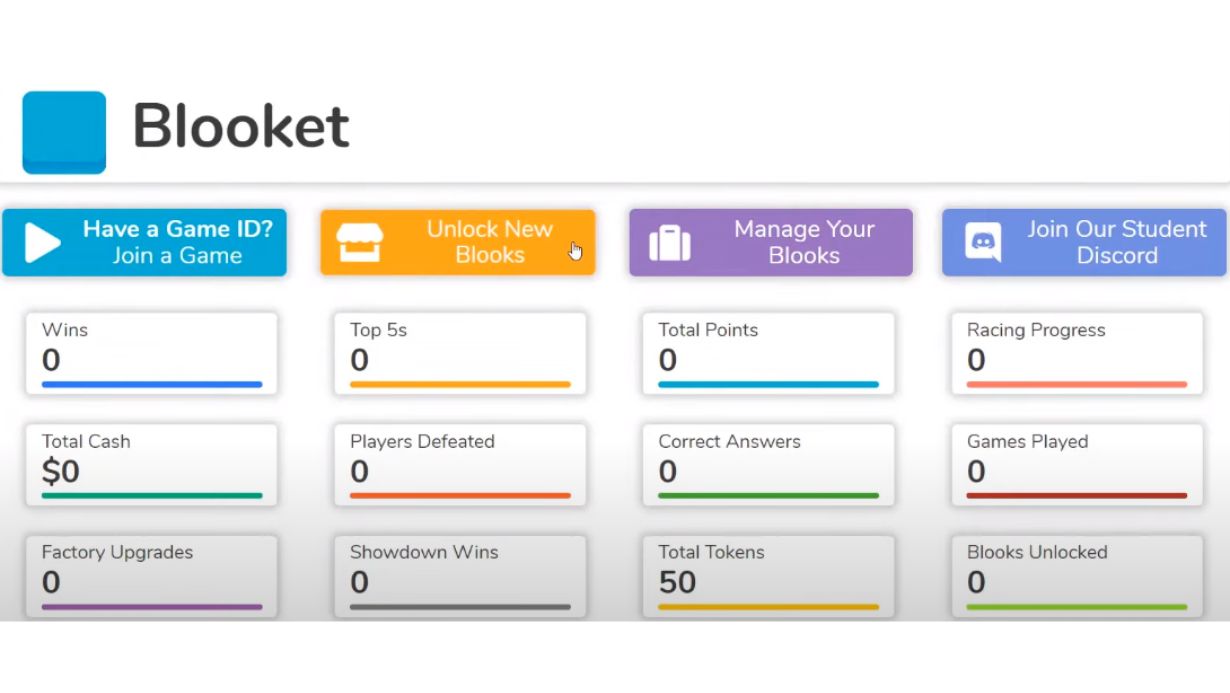
Are you a student looking to spice up your learning experience while having fun with your classmates? Hosting a Blooket game might be just the thing you need. Blooket is an online educational gaming platform that allows students and educators to create, customize, and play engaging games to reinforce knowledge in a captivating way. In this comprehensive guide, we will walk you through the process of hosting your own Blooket game as a student, turning your classroom into an exciting arena of learning and competition.
What Is Blooket and Why Students Love It
Blooket is an engaging and interactive online educational platform that has taken the student community by storm. It combines learning with gaming, making studying more enjoyable and effective. The platform allows students and educators to create, customize, and play educational games that cover a wide range of subjects. Students love Blooket because it transforms learning into an exciting adventure, encouraging healthy competition and knowledge retention.
Creating Your Own Blooket Game Account
To start hosting your own Blooket game, the first step is to create a Blooket account. Follow these simple steps:
- Visit the Blooket Website: Open your preferred web browser and navigate to the official Blooket website.
- Sign Up: Click on the “Sign Up” button and enter your email address and a strong password. You can also sign up using your Google account for added convenience.
- Verify Email: Blooket will send you a verification email. Click on the link in the email to verify your account.
- Complete Your Profile: Once your account is verified, complete your profile by adding a profile picture and any other relevant information.
Setting Up a New Blooket Game as a Student

Once you’ve created your Blooket account, it’s time to set up your first game. Follow these steps:
- Log In: Log in to your Blooket account using your credentials.
- Create a New Game: Click on the “Create” button to start a new game.
- Select Game Mode: Choose the game mode you want to create. Blooket offers various game modes, such as “Tower Defense,” “Match,” and “Quiz.”
- Choose a Theme: Select a theme for your game. Themes can add visual appeal and make your game more engaging.
- Add Questions: Start adding questions to your game. You can create your own questions or use existing ones from the Blooket question bank.
Customizing Game Settings and Adding Questions
Customizing your Blooket game settings can enhance the gameplay experience. Here’s how:
- Game Title and Description: Give your game a catchy title and a brief description that hints at the topic or subject covered.
- Game Settings: Adjust game settings such as the timer duration, question order, and whether students can see correct answers after each question.
- Question Types: Blooket offers various question types, including multiple choice, true/false, and fill in the blanks. Choose the type that best suits your content.
- Adding Images and Videos: You can make your game more engaging by adding images and videos to questions. This visual element can enhance understanding and retention.
Sharing Your Blooket Game Link With Classmates
Once your Blooket game is ready, it’s time to share it with your classmates for an exciting gaming and learning experience together. Here’s how:
- Get the Game Link: After creating and customizing your game, you’ll receive a unique game link.
- Share Via Email or Messaging Apps: Send the game link to your classmates via email or messaging apps. You can also share it on social media platforms.
- Host a Virtual Game Night: Schedule a virtual game night with your classmates. Use video conferencing tools to play the game together and discuss the questions and answers in real time.
Tips for a Successful Blooket Game Hosting Experience:
Hosting a Blooket game can be a rewarding experience that enhances your understanding of the subject matter. Here are some additional tips to make your game hosting journey even better:
- Know Your Audience: Tailor the questions to the knowledge level of your participants. This ensures that everyone is engaged and challenged appropriately.
- Encourage Collaboration: Use Blooket’s team mode to foster collaboration among players. This promotes teamwork and helps students learn from each other.
- Use Visuals: Incorporate images, diagrams, and videos to make the questions more visually appealing and informative.
- Keep It Fun: While learning is essential, don’t forget to make the game enjoyable. Inject humor and excitement into your hosting style.
- Provide Explanations: After each question, take a moment to explain the correct answer. This reinforces understanding and clarifies any misconceptions.
- Gather Feedback: At the end of the game, ask participants for feedback on their experience. Use their input to improve future game sessions.
Conclusion
Hosting a Blooket game as a student is a fantastic way to make learning more enjoyable, interactive, and effective. With its engaging gameplay and customizable features, Blooket offers a unique blend of education and entertainment. By following the steps outlined in this comprehensive guide, you can create and host your own Blooket game, fostering a collaborative and fun learning environment among your peers.
So, what are you waiting for? Dive into the world of Blooket, and let the games begin!
FAQs
Is Blooket suitable for all age groups?
Blooket can be customized for different age groups and educational levels, making it versatile for various learners.
Can I create my own questions for Blooket games?
Absolutely! You can create your own questions to tailor the game content to your specific needs.
Are Blooket games aligned with educational standards?
Yes, Blooket games can be aligned with educational standards, ensuring that the content is relevant and beneficial for learning.
Can I track my progress and performance in Blooket games?
Yes, Blooket provides performance analytics, allowing you to track your progress and identify areas for improvement.
See Also: 23 Best Online Multiplayer Games to Play With Friends


